
Visit and star️ CopilotKit's GitHub repo https://go.copilotkit.ai/coagents for all the resources and examples you need to get started with CoAgents; Explore, at your own pace, the next generation of AI-native apps! In this video, I introduce CoAgents, an innovative framework from the CopilotKit team that simplifies integrating LangGraph agents into your applications. You'll learn how to manage state and UI interactions effortlessly, with practical examples like the AI researcher module. I also demonstrate using CopilotKit for creating a multilingual translation interface, showcasing real-time interaction capabilities step-by-step. Join me for a comprehensive guide on setting up CoAgents and leveraging CopilotKit for dynamic, real-time applications. 00:00 Introduction to Co Agents 00:05 Seamless Integration with LangGraph 00:27 Generative UI and State Management 01:27 Human in the Loop and Agent QA 02:59 Getting Started with CopilotKit 03:13 Setting Up the AI Researcher Example 04:08 Configuring API Keys 05:09 Running the Demo 05:17 Setting Up the UI 06:01 Illustration of Co Agents in Action 06:52 Building a Perplexity Style App 07:37 Loading in LandGraph Studio 08:06 Visual Representation in LandGraph Studio 08:41 Simple Example with Co Agents and Copilot Kit 09:12 Introduction to Co-Agent Starter Kit 09:23 Setting Up the Agent Directory 09:51 Defining Translation Functions 10:39 Building the Workflow Graph 11:10 Exposing the Architecture 12:02 Integrating with Next.js 12:27 Setting Up Backend Routes 12:47 Creating the Service Adapter 13:58 Configuring the Frontend 14:30 Rendering the Translator Component 16:24 Final Thoughts and Conclusion
Weekly deep dives on AI agents, coding tools, and building with LLMs - delivered to your inbox.
Free forever. No spam.
Subscribe Free
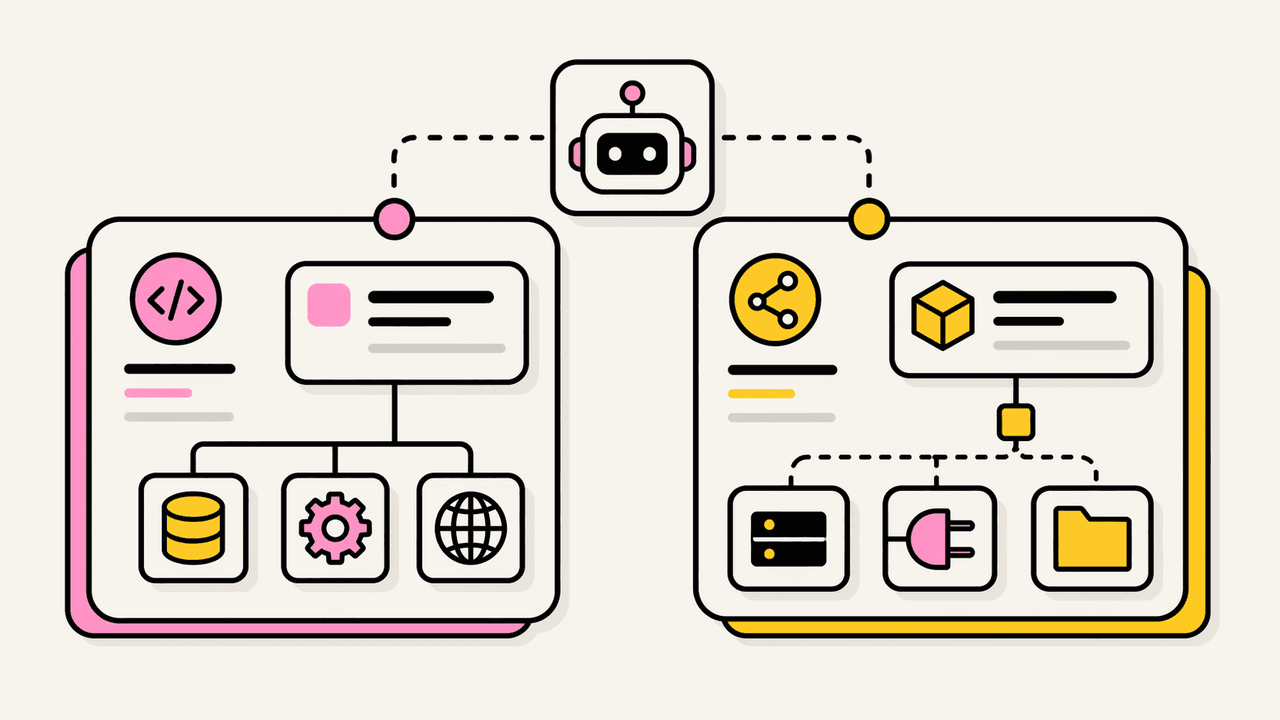
New tutorials, open-source projects, and deep dives on coding agents - delivered weekly.
--- type: transcript date: 2024-10-24 youtube_id: adWjIVQiTn8 --- # Transcript: CoAgents: AI Agent Applications with LangGraph & CopilotKit in this video I'm going to be showing you co-agents which is a new offering from the team over at co-pilot kit and what co-agents allow you to do are to seamlessly integrate your Lang graph agents into the co-pilot application of whatever you might be building so what's unique with this solution is they've really abstracted away a lot of the plumbing that would have been required to set up between your Lang grab cognitive architecture as well as the front end application layer of whatever you might be building so with co-agents it allows you to easily have generative UI that can be whether it's streamed back or sent back from particular nodes within your L graph architecture if there are particular nodes within your application that require streaming responses you'll be able to easily set that up additionally there is the ability to tie into these really convenient hooks where you'll be able to set the state from your client side application and vice versa from the Lang graph architecture if the agent determines something where the state needs to be updated on the user application inside you can send that across and then vice versa if there is a piece of the UI that your application needs to send that context back and through to your Lang graph agent it can do that it's really flexible in terms of updating State and it effectively creates This Modern syntax on how you can set this up within whether it's a react application nextjs application as well as the state-of-the-art and growing infrastructure that's being built around langra right now now I think one of the biggest takeaways with co-agent is this idea of having the human in a loop so last and finally where co-agents can be useful is with agent QA and this is a really great demonstration of it what we're used to with typical chat Bots is we're used to a lot of text in and text out we'll type something we'll get a response back but we're starting to enter more of an error where we'll be able to control more of our application with the UI and share that application state with the agent say in this case in this example you want to book a flight from Amsterdam to bar Ona you'll be able to select the desired date and that desired date will be ultimately passed to your agent so it has the context in terms of determining next steps or doing that lookup process on the back end to send you some further information whether it's pricing or times of day that you want to fly out or whatever it might be so with co-agents it's effectively removed a lot of the hard work that would have involved setting up the shared State Management whether it's the state streaming between the agent and the front end of the application the agent QA process all of these different interactions you would have had to wire up yourself and with co-agents it's a very easy hook that you can tie into to interact between the Lang graph architecture as well as your application with all of these capabilities being able to easily tie into your application it'll make things like real-time interactions easier State updates between the agent as well as the user and just overall improving responsiveness and adaptability with whatever your application might be to get started with co-pilot kit you can head on over to their repo I'll put the links within the description of the video as well the first thing that we're going to do is we're just going to install the repo once the repo is installed there are a number of different examples that you can check out here I'm going to be checking out the AI researcher example here which is a minimalistic perplexity clone you'll be able to see how to set up that backend architecture with in Lang graph as well as binding it within a nextjs application and be able to see how every Works in between one another and what's great with this is they have quite a few of different examples they have what looks to be almost 10 different examples that you can check out and try all of this out once everything's pulled down we're going to go within the examples here and we're going to start with this AI researcher example we'll just CD into examples go into co-agent AI researcher and then within this you do have the read me if you'd like to open that and if you have a markdown viewer you'll be able to see it here as well if you just want to look at the read me here and then once we have that we're first going to set up our agent first thing you can do is just go ahead and poetry install everything you can go within the agent directory and then you can create a EnV within the EnV we're going to create two different keys we're going to have one for open AI as well as Tav if you haven't used Tav before it's a pretty popular use case within the Lang chain and what it allows you to do is you can send in queries like what you might Google for instance with something and and it will be able to send back relevant information about that query this is similar to a Sur API but it's definitely built with the idea of llms in mind it's able to give you natural language context as well as some sort of common questions that your application might have whether it's follow-up questions or different answers as well as some other useful metadata that could be useful within your application to get started you can just make a free account and then once you're within the dashboard you can just make a new API key once you have the API key you can paste it in here for open AI it's pretty straightforward you can search for your API key generate an API key and paste it in there as well just paste those in save it out now that we have those we're ready to run our demo you can just poetry run demo we see that this is running on Port 8000 all right so next what we're going to do is we're just going to get started with our UI we'll just get with the directory here we'll go within UI the first thing we can do is pmpm install everything or alternatively you can npm install everything if you like from here you can grab the openai API key from the previous step if you'd like here just like we did with an agent we'll just create a EnV then within thatv just paste in the openi API key once we've done that we can pnpm run Dev and then that will start the front end next chest application I'll just move this over onto my screen and we should hopefully see what looks to be a simplistic perplexity style answer engine here here we can just put in the question we see that it's searching for the curs or searching the web and this is a good illustration on what's happening with co-agents but streaming out the different states that's updating this UI component once we have all of the information from the Tav API we're going to extract that information and ultimately it's going to be summarized for us within this answer then once that answer is streamed out we do see that those references come back and stream out also on the right hand side there so here it happens relatively quickly but there are a number of subtle nuances that you probably caught looking at the example you saw the state that was being updated there was the loading State there was also the progress that was being updated for the particular nodes and the Dom elements that also correlate to what's happening in the background within the Lang graph architecture and then finally it streamed out both the answers as well as the references for us it's quite a bit of work so to set this up yourself so I built an application that was similar to a perplexity Style app and I probably built it four or five times before I settled on something that was analogous to working right so this took me a few different tries in terms of different implementations now had I had something like co-agent and co-pilot kit that I would have been able to leverage that whole process probably would have been able to be easier as well as arguably more robust if I were to make it say a production application because there's different aspects within that a ton of strengths of being able to integrate something like Lang graph as well as co-agents and co-pilot kit because it really abstracts away a ton of different pieces that would have otherwise been potentially pretty complicated the last thing that I want to show you is loading it up within langra studio right now at time of recording lra studio is only supported on Mac OS but it is coming to Linux as well as Windows to get started with langra Studio you will have to have Docker running then you can just select that agent folder of where you've built out your L graph architecture it will install the dependencies and start your AG where you'll be able to see a visual representation of what your agent is and this is very helpful if you haven't used the studio before it's essentially a graphical interface where you can see these different nodes of what all the different steps are within the application here we see the step node we see that the targets of the step node are either going to be the summarization node or the search node and then depending on the different steps of what your application is doing it will rout through these different nodes and potenti go through multiple steps depending on the architecture that's set up so there's quite a bit that you can do within Lang graph Studio but it's just really neat to be able to see that visual representation of whatever your application is doing last what I want to show you is a simple example on how to get started with co-agent co-pilot kit as well as Lang graph in this example you see this simple nextjs application and what it's doing is it's taking in an input and it's Translating that output into three different languages let's just first take a look at this in Lang graph studio so we have our starting node we have our translation node and then what it's returning for us is this schema of all of the different languages as well as their respective keys on where they're going to map within the UI so to get started I'm going to show you the co-agent starter kit this is within the examples directory and it is arguably the easiest example on how to get started to really understand the fundamentals of what's Happening first we're going to start within the agent directory just like we had in the perplexity example you can also add in a v as well as your API key from open AI the first thing that we're going to do is we're going to import a number of different modules that we're going to be using from there we're just going to Define that we're going to have our translations that are going to be strings as well as extending that within the agent State and also mentioning that the input is going to be a string that's going to be essentially the hello world that you saw in the previous example first we're going to set up our main translation function within here we're going to be passing in our agent state which like we mentioned is going to be the input all that this function is really doing is we have a openai API call and we have a tool which is going to specify the translation but we're going to have very specific system instructions so here we're going to specify you're a helpful assistant that translates text into different languages with just a couple other details here like the language and what have you and then we're also going to be passing in the input that we had from the user from here we're going to check whether the schema that we have back from openai does have the tool calls if it has the tool calls but we're going to do is we're going to be sending that back as the response alternatively if for whatever reason the tool calls weren't invoked we're going to be sending back the message from there we can just set up the workflow within the graph this is the code representation of what with in this graph here so arguably one of the most simple examples you can add the node so this is the node that we just worked through you can Define your entry point which in this case it's the same node that we had just defined and and then finally you can add an edge that specifies that this is the end of the Lang graph architecture invocation and then finally from here we're just going to initialize the memory that we're going to be using within this is going to be how you can compile what we had just worked through next what we're going to do is we're going to be exposing that architecture so it's a consumable endp point that we can query within this we're going to be referencing the EnV to use the openai variable that we had just declared then we're going to be importing fast API so this is going to be what we use to create our web server we're going to be importing co-pilot kit for the integration with fast API and then we're going to be essentially just initializing we're going to be setting up the SDK within co-pilot kit and within here we're going to define the Lang graph agent that we had just set up so you can pass in multiple agents if you'd like and each agent you can specify the name the description as well as the agent from there what you can do is you can just add this fast API endpoint and in this case we're just going to have it at the route of co-pilot kit and then finally you can just invoke the method to start the server and expose that so it's consumable from where you're going to be interacting with it next I'm going to walk you through the primary building blocks on how to get started with integrating this within a nextjs application you can go within the UI folder and within the UI folder you can open up app there's going to be three main files that we're going to focus on so the page. TSX the translator. TSX component as well as the route. TS within the API copilot kit folder first I'm going to show you the backend rep and this is going to be what communicates with that fast API server and ultimately that Lang graph architecture that we have set up on the back end first we're going to set up our dependencies we're going to import next requests then we're going to structure a couple things that we're going to be using from co-pilot kit as well as open a we'll initialize the open AI client then from there we're going to create a service adapter and within this we're going to be passing in our initialize openai client once you have that you have a couple different options for your base URL so you can predetermine it within the EnV if you'd like or alternatively it is Port 8000 if you're pushing this to production just make sure that you change out the remote action URL to whatever the fast API end points URL is next it can be helpful just to log out the base URL just to make sure that you are routing to the proper place for instance maybe you have Local Host running on a different port or what have you this can help the process to determine if there are any issues from there we're going to initialize the co-pilot runtime with the remote actions configuration here all that we have to do to set up this remote actions is configure our base URL from there we're going to set up the request Handler and we're going to be using the co-pilot runtime and service adapter that we had just defined a little bit earlier within the file within this we're going to be passing in the runtime we're going to be passing in the service adapter and then we're also going to be passing in the endpoint like I had mentioned and then finally we're just going to return this request and this is going to be what ultimately gets sent to the front end of our application next we're going to go within the page. TSX So within the page. TSX we're going to be using a client side component so since we're using nextjs just make sure to specify that at the top and then within this we're going to be importing co-pilot kit we're going to be importing also the component of translator which I'll go into in just a moment and then all that we need to do is we need to specify the runtime URLs in this case it's going to be API copilot kit but this could really be whatever your production runtime URL is and then you also have to specify the agent that you're going to be using from there within the translator TSX we're going to again specify that this is going to be a client side component we're going to be importing a handful of things from copilot kit we're going to be setting up an interface so this is going to be to make sure that everything is type compliant and it maps to what we had set up in the previous step within our agent and then from here we can just set up our component so this is going to be what gets rendered visually to the Dom again we're going to be specifying the name of the agent and then we also have the initial State when someone first loads the screen you could also have this be an empty string if you'd like from there we're going to get our loading state from our use co-pilot chat log out our state and this is optional obviously you can remove this if you'd like especially once you go to production and then from there we can set up the Handler function to run our translation agent here we're specifying translate to all the different languages and within this you will see once I start to add some of the jsx that within this the translate agent state is going to be the input value and then it's going to be setting the state of what the input value is based on when someone's typing on their keyboard effectively we also have the button that the user can click this is going to be what actually invokes that handle translate Handler in this case we're also going to show the loading State directly on the button next what we're going to do is we're going to display the translations if they're available here we're just going to wait for if the State updates and if there is the translation agent state. transations that's going to be what determines whether this jsx gets rendered in the Dom finally you can render under this co-pilot pop if we see here we have our interface but then also on the right hand side here we have this where I can say translate the words hello and this is the beauty of co-pilot kit you can have your natural language interface where a user can ask for certain things to happen within the UI and then depending on what you've set up within your Lang graph architecture as well as the application layer itself you'll be able to build these interactive experiences that that really weren't even Poss possible even several months or a year ago that's pretty much it for this video I know we definitely covered a lot but I hope this can act as a resource on how you can leverage co-pilot kit co-agents as well as Lang graph and build out these end to end applications I also want to thank the team over at co-pilot kit for partnering on this video if you found this video useful please comment share and subscribe wise until the next one
Technical content at the intersection of AI and development. Building with AI agents, Claude Code, and modern dev tools - then showing you exactly how it works.