Turn a Bug Report Into a Repro Video with Codex, Playwright, and Screen Studio

TL;DR
Repro steps in a wall of text get skimmed. Have a coding agent write a failing Playwright test, record the headed run in Screen Studio, and attach a 30-second clip plus the checked-in test to the issue. Seven steps, under an hour.
Every bug report is a bet that the reader will care enough to rebuild your exact state from six numbered steps. Most readers do not. A 30-second video of the bug happening does not need to be read at all, and the failing test behind it is the part that outlives the video.
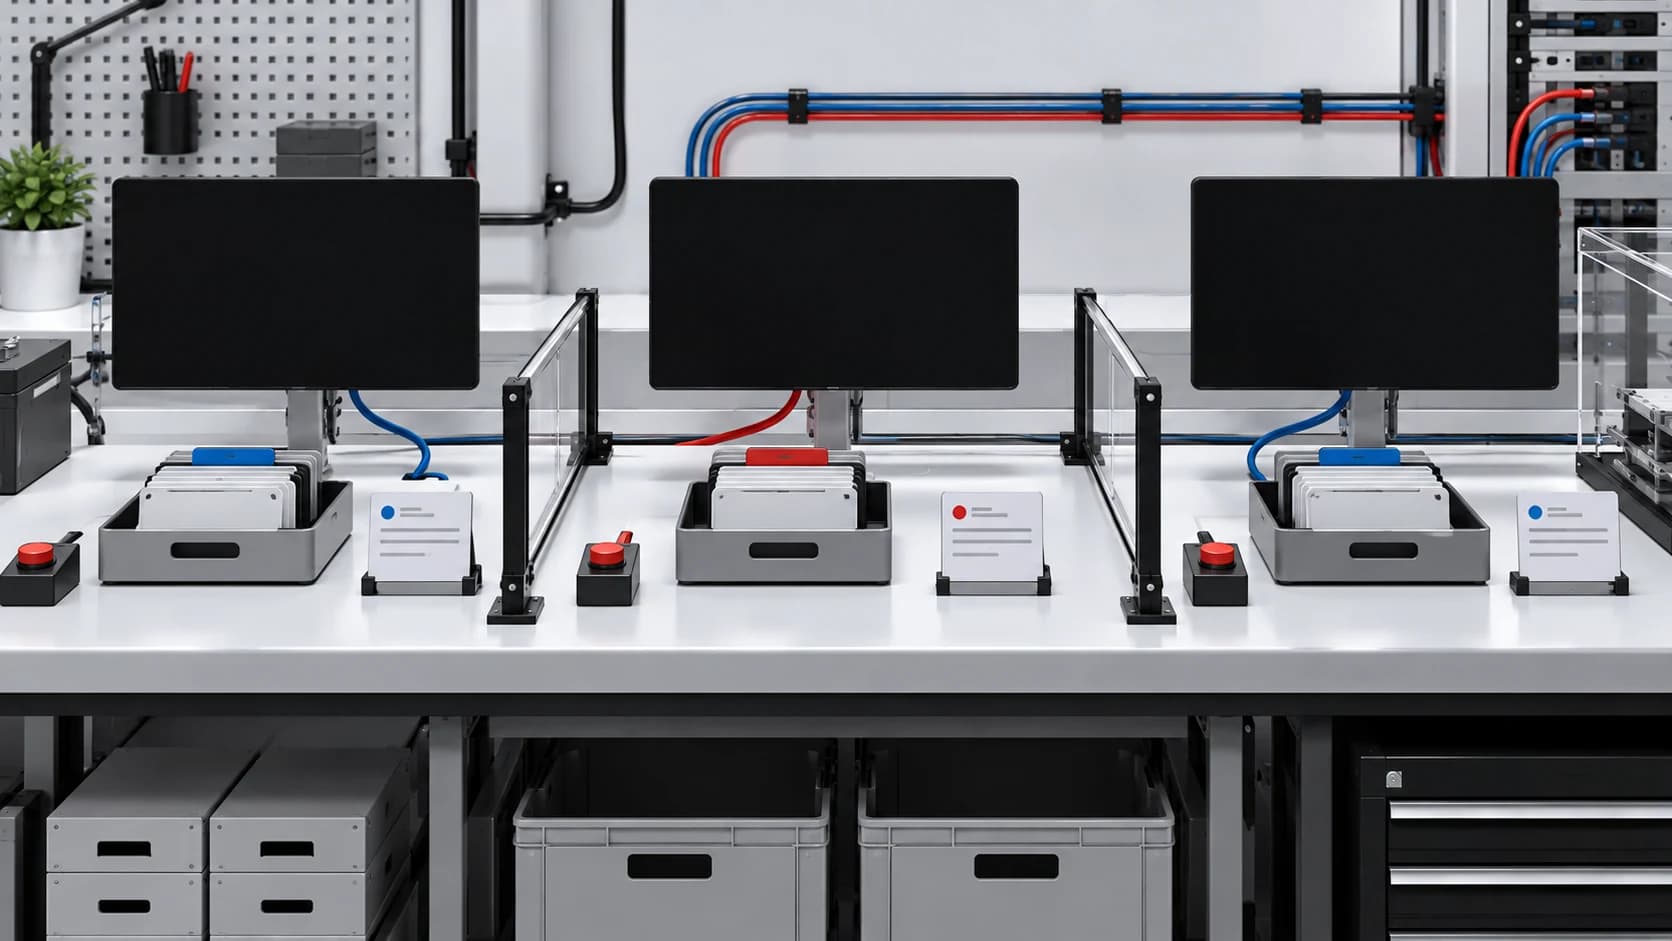
The 2026 version of this is mechanical. A coding agent turns the report into a failing Playwright test, the test drives the browser the same way every time, and Screen Studio records the headed run into a clip that looks intentional instead of accidental. The test gets checked in so CI guards the fix; the video gets attached to the issue so humans understand it in one pass. Seven steps, under an hour, each ending in something you can run.
Codex CLI is the agent harness here because codex exec runs a bounded task non-interactively, and the docs show gpt-6.1-sol as the current model. Swap in OpenCode or any agent that can read a repo and run commands, and the shape survives.
Official Sources#
| Resource | Description |
|---|---|
| Codex CLI | Install, sign in, and the current default model |
| Codex non-interactive mode | codex exec, sandbox modes, and stdin piping |
| Playwright installation | Scaffold, run, and system requirements |
| Playwright running tests | Headed mode, single-file runs, projects |
| Playwright test options | slowMo, baseURL, and video recording options |
| Screen Studio guide | Recording, zooms, trimming, masks, and export |
| GitHub attaching files | Video uploads in issues and pull requests |
Step 1: Install the three pieces#
Prerequisites: a web app repo you can run locally, a real bug report with a user-visible path, macOS Ventura 13.1 or later with 8GB of RAM for Screen Studio (M1 or later recommended, per the system requirements, as of 2026-10-02), and Node.js latest 22.x, 24.x, or 26.x for Playwright (system requirements, as of 2026-10-02).
Scaffold Playwright in the repo:
npm init playwright@latest
npx playwright --version
When prompted, choose TypeScript and name the test folder e2e so repro files have somewhere specific to live. Install Codex with the official one-liner, then sign in by running codex once:
curl -fsSL https://chatgpt.com/codex/install.sh | sh
codex exec "read package.json and print the test script"
That last command proves the non-interactive path works. It also demonstrates the default: codex exec runs in a read-only sandbox unless you say otherwise (permissions and safety, as of 2026-10-02). Download Screen Studio and activate it; the plans are $29 per month monthly or $9 per month yearly (pricing, as of 2026-10-02).
What you have now: Playwright scaffolded, a headless agent that answers questions about the repo, and a screen recorder installed.
Step 2: Have the agent write the failing test#
Save the bug report as issue.md in the repo, or pipe it in. Then point Codex at the report with the exact behavior to assert. The prompt matters more than the model here: the agent writes the test, but it never touches app code.
codex exec --sandbox workspace-write \
  "Read issue.md. Write a Playwright test at e2e/repro/issue-412.spec.ts that drives the exact user path in the report and asserts the behavior the user expected, not the behavior they observed. Do not modify app code or config. Run it with 'npx playwright test e2e/repro/issue-412.spec.ts --project=chromium' and iterate until it fails for the reason the report describes. Print the final command and the full failure output."
--sandbox workspace-write is what lets it create the spec while staying scoped to the repo; the default read-only sandbox would block the file write (non-interactive mode, as of 2026-10-02). If your playwright.config.ts sets a baseURL (configuration), the spec can use relative paths like page.goto('/checkout') instead of hardcoding a host.
One failure mode to watch for: an agent that cannot drive the browser may write a test that asserts from static HTML. If it keeps guessing locators, hand it the Playwright MCP server so it can click through the app itself, then re-run the prompt.
What you have now: one test file under e2e/repro/ that encodes the report as executable expectations.
Step 3: Prove the failure is the right failure#
A red test is not proof of a repro. Run it headless and read the error:
npx playwright test e2e/repro/issue-412.spec.ts --project=chromium
The assertion must fail at the step the report describes, with the expected and received values matching what the user saw. If it fails during login, navigation, or fixture setup, the repro is wrong - tell the agent to fix the path, not the assertion. This is also where generated tests earn their bad reputation: a model that reads buggy implementation code can write a test that treats the bug as the contract (why that happens). Keeping expected behavior sourced from the report is the guard.
If the bug is intermittent, make it deterministic before you record anything: mock the network responses that trigger it and freeze the clock so time-dependent states stop moving. A flaky repro video is worse than no video.
What you have now: a reproducible failure whose error message names the broken behavior.
Step 4: Make the run watchable#
A normal headed run is too fast to follow. Slow every action down by adding one line at the top of the repro spec:
import { test, expect } from '@playwright/test';

test.use({ launchOptions: { slowMo: 400 } });

test('promo code applies the discount', async ({ page }) => {
  // the agent's test body
});
slowMo is a browser launch option you can set through test.use (browser and context options, as of 2026-10-02). Then run it with a visible browser:
npx playwright test e2e/repro/issue-412.spec.ts --project=chromium --headed
Headed mode opens the real browser window while the test runs (headed mode, as of 2026-10-02). Keep slowMo in the repro file only - it is a recording aid, not something your main suite should inherit. If the flow needs a signed-in session, use Playwright's stored auth state so the recording starts inside the app instead of on a login screen. Aim for a run that reaches the broken state in 20 to 40 seconds.
What you have now: a headed run that visibly walks the same path a user would.
Step 5: Record it in Screen Studio#
Screen Studio is built for exactly this clip: it records a window or a selected area (window, area), applies automatic zoom to the moments you click (auto zoom), and smooths the cursor path so the pointer does not teleport between steps.
Before recording:
- Size the browser window to something readable at 1080p, and close unrelated tabs.
- Hide desktop icons so nothing private lands in frame.
- Leave auto zoom on and keep the default cursor treatment. The zoom follows the test's clicks, which is the reason this tool is in the pipeline.
- Start the Screen Studio recording first, then run the Step 4 command. Stop after the broken state has been on screen for a beat.
If you want the terminal's red failure text in the clip, record the whole display instead of a single window and keep the browser and terminal side by side. Trim the head and tail so the clip opens on the first action and ends on the broken state (trimming), speed up any dead segments (speeding up), and mask anything sensitive - API keys, emails, customer names - with the mask tool (mask and highlight). Export an MP4 for the issue, or a GIF for docs and READMEs (export settings).
What you have now: a 20 to 40 second clip of a real failing run, framed and legible without narration.
Step 6: Attach the video and check in the test#
Drag the MP4 straight into the issue or pull request comment box. GitHub supports MP4, MOV, and WebM attachments and recommends H.264 for browser compatibility; video uploads cap at 10MB on repositories owned by a free-plan account and 100MB on paid plans (attaching files, as of 2026-10-02). A 30-second 1080p clip is usually small, but if it clears the cap, export at 720p, or use a Screen Studio shareable link instead. Uploads to public repositories are viewable without authentication, so the Step 5 mask pass is not optional.
Then promote the repro from "currently failing" to "expected to fail" by switching the declaration to test.fail:
test.fail('promo code applies the discount', async ({ page }) => {
  // unchanged test body
});
test.fail marks the test as should-fail and makes Playwright verify that it does fail; if it unexpectedly passes, Playwright complains (test.fail, as of 2026-10-02). That one word keeps the suite green while the bug is open and turns the future fix into a signal. Commit the spec:
git add e2e/repro/issue-412.spec.ts
git commit -m "test: add repro for issue 412"
What you have now: an issue with a watchable video and a checked-in test that CI protects.
Step 7: Close the loop#
When the fix lands, the CI run fails for the good reason: the expected-failure test passed. Delete test.fail, and the repro becomes an ordinary regression test for the exact path the report described. That flip is the handoff - no one has to remember to write the regression test later, which is the step that usually gets skipped.
Three rules keep the loop honest:
- Record the failing run, never a simulated one. If the test cannot fail deterministically, fix the determinism first. A video of a bug that does not reproduce is a lie with good production values.
- One video, one defect. If the report contains three problems, file three issues. A clip that shows several things at once proves none of them.
- It works for backend bugs too. When the failure is an API or a job log, record the terminal window running the failing command. Same pipeline, different footage.
What you have now: a repeatable path from "cannot reproduce" to a video, a test, and a fix everyone can verify.
FAQ#
Do I need a Mac for this?#
Screen Studio runs on macOS Ventura 13.1 or later only (system requirements, as of 2026-10-02). On Windows or Linux, Playwright's own video: 'on' recording option captures the run headlessly (recording options, as of 2026-10-02); you lose the automatic zoom and GIF export, but the test and the issue workflow are identical. Descript also ships a screen recorder that runs outside macOS if you want a middle ground.
Can the agent write the test without seeing the bug?#
It can write the first draft, but the failing run is the proof. Give it the report, the repo, and an instruction to assert expected behavior only, and keep it out of app code. Then check the failure in Step 3 yourself. The test generation comparison covers where generated tests most often drift.
How long should the repro video be?#
20 to 40 seconds: one path, one broken state, no narration. Anything longer and the viewer starts skimming the video, which puts you back where the wall of text started.
The video is too big to attach. What now?#
Export at 720p, trim harder, or export a GIF for a size-sensitive target. If the clip still clears GitHub's video cap, use Screen Studio's shareable link and paste that into the issue. Keep the test in the repo either way - the video is the explanation, the test is the record.
Can I skip the test and just record the video?#
You can, and you will pay for it twice. The video explains the bug once; the test catches the regression forever and tells you the moment the fix lands. The repro harness pattern exists because evidence that cannot rerun decays.
Sources#
| Source | URL |
|---|---|
| Codex CLI docs | https://developers.openai.com/codex/cli |
| Codex non-interactive mode | https://developers.openai.com/codex/non-interactive-mode |
| Playwright installation | https://playwright.dev/docs/intro |
| Playwright running and debugging tests | https://playwright.dev/docs/running-tests |
| Playwright configuration (use) | https://playwright.dev/docs/test-use-options |
| Playwright test API, test.fail | https://playwright.dev/docs/api/class-test#test-fail |
| Screen Studio system requirements | https://screen.studio/guide/system-requirements |
| Screen Studio export guide | https://screen.studio/guide/exporting-the-video |
| Screen Studio pricing | https://screen.studio/#pricing |
| GitHub attaching files | https://docs.github.com/en/get-started/writing-on-github/working-with-advanced-formatting/attaching-files |
Some links to tools above are referral links - see our affiliate disclosure.
Last updated: October 2, 2026
Continue Reading#
- Auto-Narrated Changelog Videos - the same Screen Studio recording loop, pointed at releases instead of bugs
- Open-Source MCP Servers Worth Installing - give a stuck agent the Playwright MCP server and let it reproduce the bug itself
- AI Test Generation Tools Compared - where generated tests help and where they validate bugs
- Codex CLI Worktrees and Durable Sessions - run the agent half of this pipeline without disturbing your working tree
- Security Agents Need Repro Harnesses - why evidence that cannot rerun is not evidence
Get the next deep dive like this in your inbox
One email a week on playwright and the rest of the AI dev stack. Free.
Read next on AI coding tools
Open-Source MCP Servers Worth Installing in 2026
The MCP ecosystem crossed 22,000 servers in early 2026. Most are noise. Here are the open-source servers that have earned a permanent slot in our config, with copy-paste setup for Claude Code, Cursor, and Codex.
12 min readAuto-Narrated Changelog Videos: Build the Pipeline in Under an Hour
Release notes nobody reads are a content problem with a mechanical fix: have a coding agent write the narration script from real git history, record the demo with Screen Studio, and let Descript narrate and edit it. A complete one-hour build.
8 min readAI Test Generation Tools Compared 2026: Which One Actually Catches Bugs
A fair comparison of AI-assisted test generation tools for coding agents - what they generate, where they plug into your workflow, and which claims to verify yourself before trusting the output.
12 min readNew here? Start with
Technical content at the intersection of AI and development. Building with AI agents, Claude Code, and modern dev tools - then showing you exactly how it works.